- Hiding Fields on the Checkout Page
- Installing WooCommerce
- Using WooCommerce
- Using Your Theme's Header & Footer in a Step
- Embedding a Checkout Form on the CartFlows Checkout Page
- Hiding WooCommerce Pages and Products
- Using Pricing Tables
- Adding an Affiliate Program
- Setting a Funnel as the Homepage
- GDPR Compliance
- Dynamic Offers aka Rule Engine
- Instant Layout for Checkout and Thank You Step
- Adding Products from the URL to the Checkout Page
- Setting Up A/B Testing for Steps
- Deleting Plugin Data During Uninstallation
- Importing Ready-Made Templates for Funnels and Steps
- Importing and Exporting Funnels and Step
- URL Parameters
- Replacing the Main Checkout Order with an Upsell or Downsell
- Rolling back to a Previous Version
- Google Address Autocomplete
- Flatsome UX Builder
- ActiveCampaign
- Paypal Reference Transactions
- How PaypPal/Stripe Works
- Enabling Enfold Avia Layout Builder
- Setting Up Authorize.net for Upsell & Downsell
- Supported Payment Gateways
- Setting Up A/B Testing with Google Optimize
- Setting Quantity and Discount for Products on the Checkout Page
- Funnel in Test Mode
- Troubleshooting Plugin and Theme Conflicts
- Resolving the "Please Select a Simple, Virtual, and Free Product" Error
- Fixing Endless Loading on the Checkout Page
- Fixing the "We can't seem to find an order for you." Error on the Thank You Page
- Fixing the "Checkout ID Not Found" Error
- Fixing the "Session Expired" Error Message
- Resolving "Order Does Not Exist" Error on Upsell/Downsell Page
- Fixing the "Sorry, This Product Cannot Be Purchased" Error
- Resolving "No Product is Selected" Error
- Disabling Auto-fill of Address Fields Based on Zip Code
- Enabling Theme's Scripts & Styles Without Changing Page Template
- Disabling Auto-fill of Checkout Fields
- Allowing Cache Plugins to Cache CartFlows Pages
- Changing the "Choose a Variation" Text
- VAT Field Not Displaying for WooCommerce EU/UK VAT Compliance Plugin
- Enabling the Product Tab on Store Checkout
- Displaying the Order Summary Open on Mobile Devices
- Refreshing the Checkout Page After CartFlows AJAX Calls
- Overview
- Installing
- Activating License Key
- Customizing General Settings
- Customizing Cart Tray Labels
- Customizing Cart Icon Settings
- Customizing Cart Tray Styling
- Understanding the Product Recommendations Feature
- Controlling Product Recommendation Source for Empty Cart
- Controlling When the Cart Opens After Adding Products
- Enabling Free Shipping in WooCommerce
- Configuring Upsell and Cross-Sell Products in WooCommerce
- Using a Custom Image for the Floating Cart Icon
- Setting Custom Product Recommendations in the Cart
- Opening the Cart Using a Custom Button or Link
- Floating Icon Styling
- Cart Opening Direction
- Popup Cart Feature
Floating Icon Styling
The Floating Icon Styling feature in Modern Cart for WooCommerce lets you fully customize the cart icon that appears across your site. This floating icon gives shoppers instant access to their cart from any page — making checkout faster and helping reduce cart abandonment.
You can easily adjust its colors, size, shape, and more to match your store’s branding and create a seamless shopping experience.
Why Use Floating Icon Styling?
A well-designed floating icon can make your site more intuitive and improve cart visibility. Here’s why you’d want to use this feature:
- Consistent Branding: Match the cart icon with your site’s color scheme and visual identity.
- Improved UX: Make the icon stand out or blend in, depending on your design goals.
- Better Engagement: Give users easy access to their cart, increasing the likelihood of completed purchases.
How to Customize the Floating Icon?
Step 1: Navigate to the Modern Cart Settings.
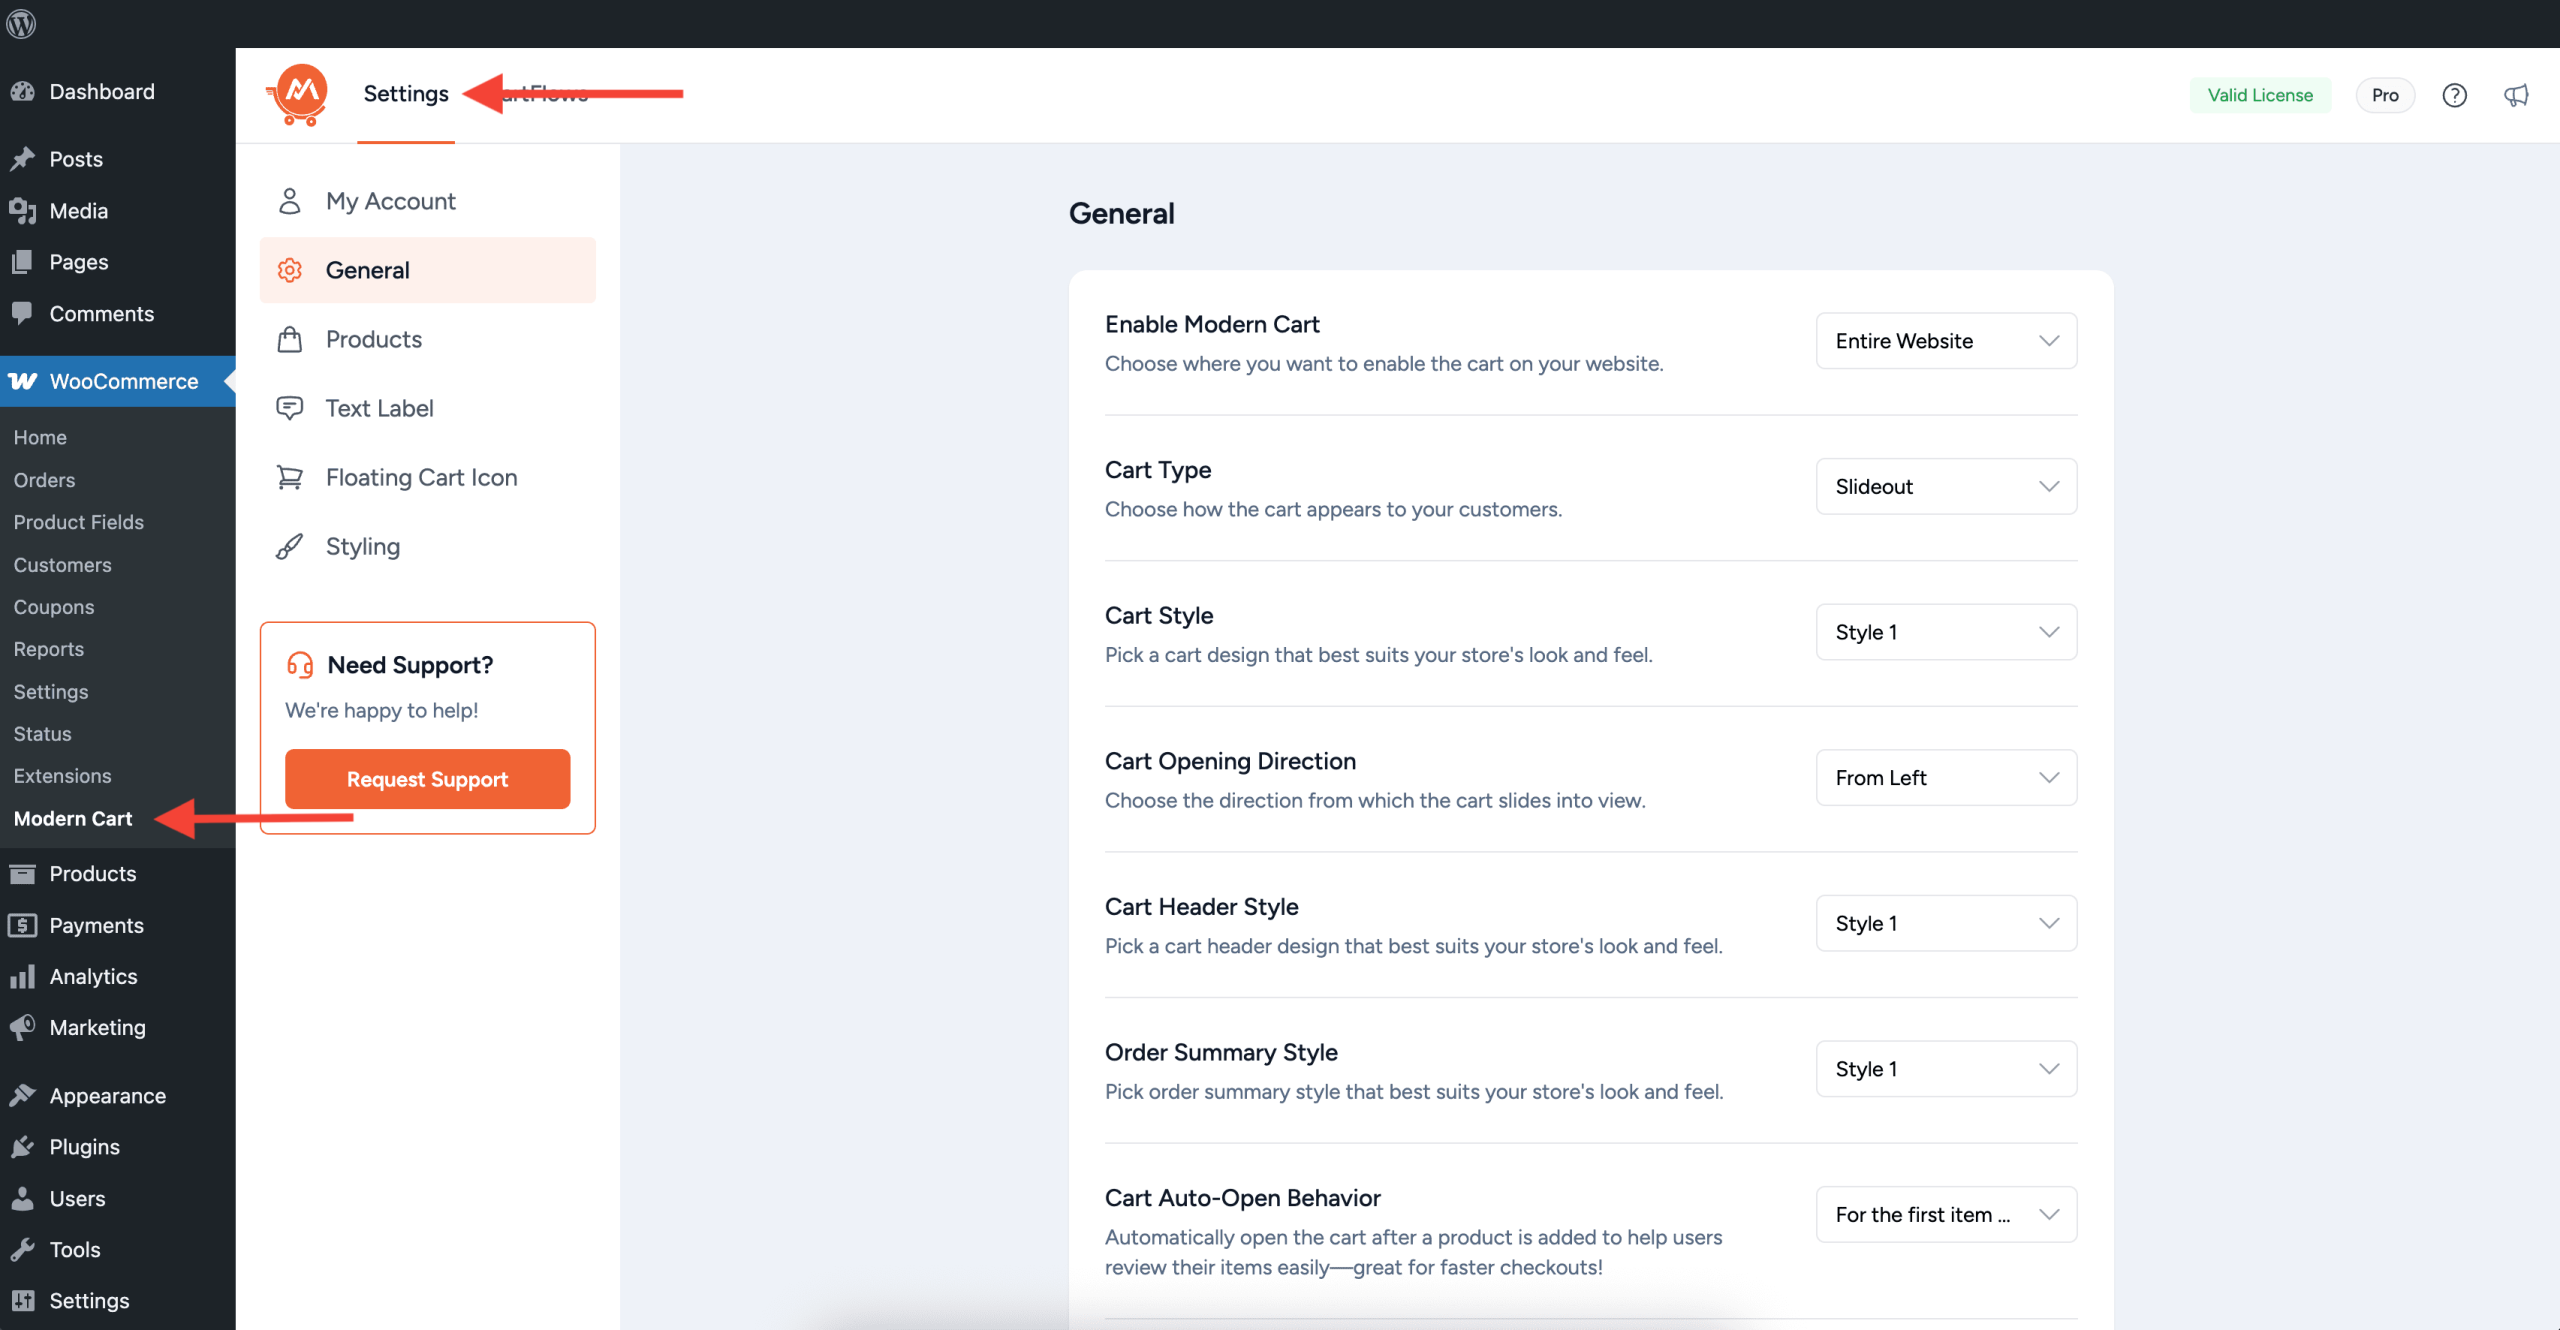
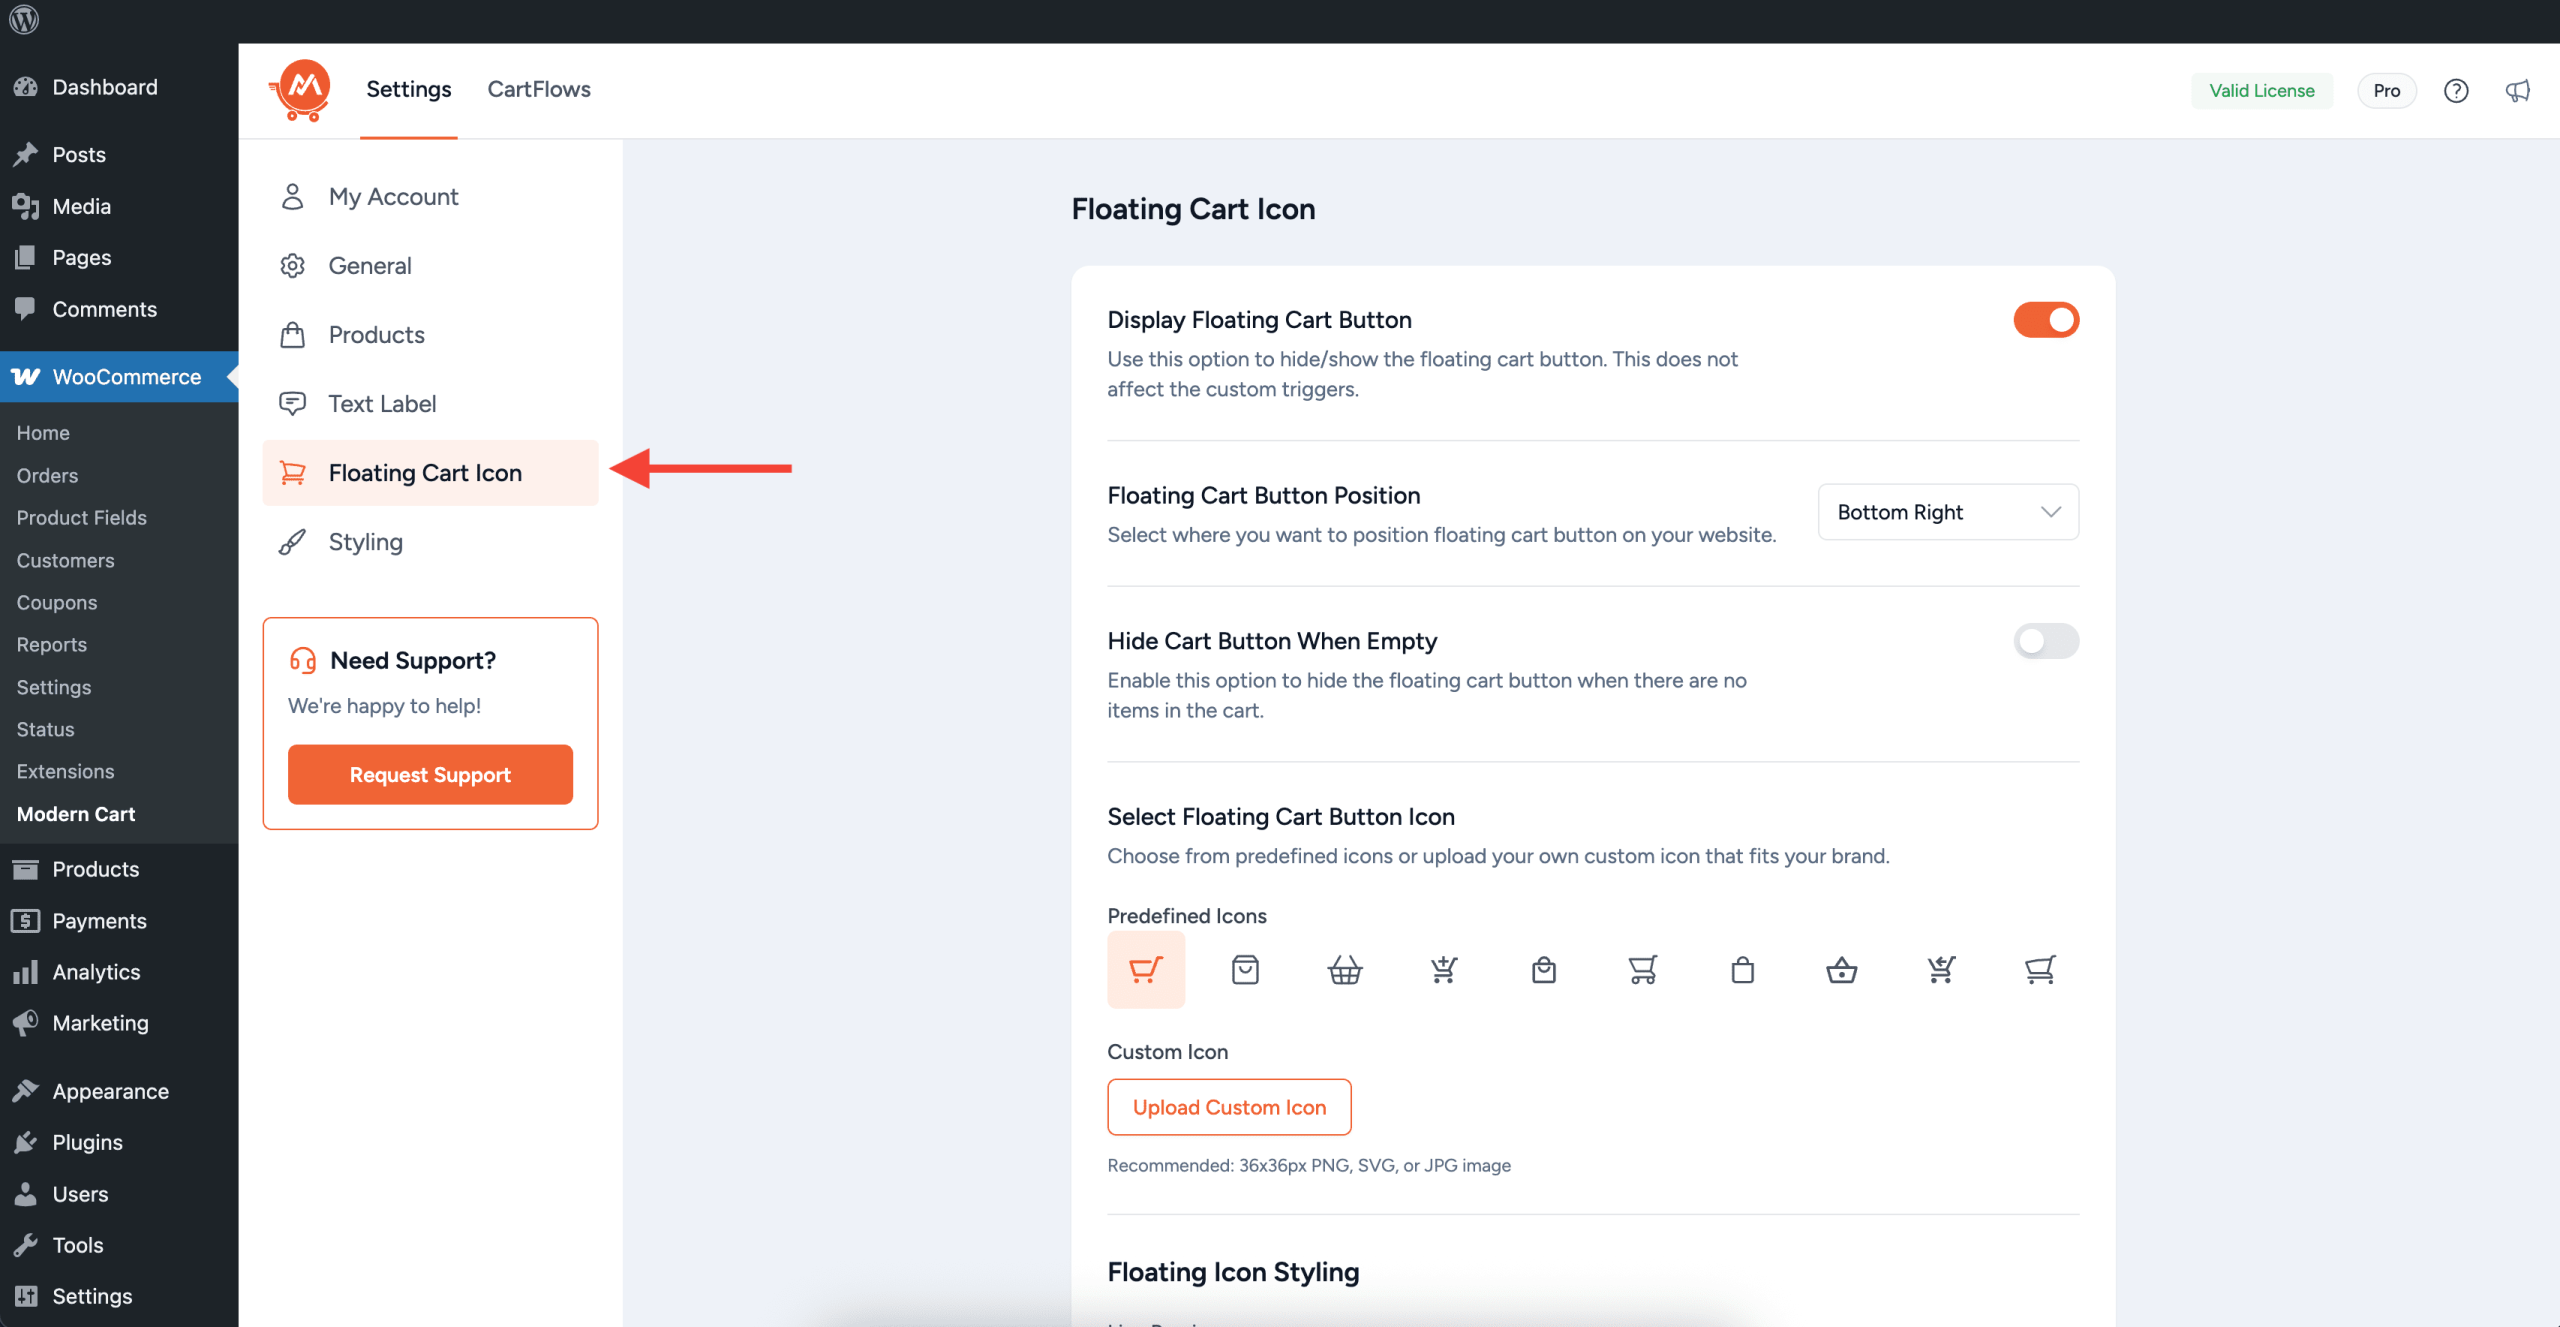
Step 2: Select Floating Cart Icon Tab
Step 3: Start customizing the setting to match your store’s branding.
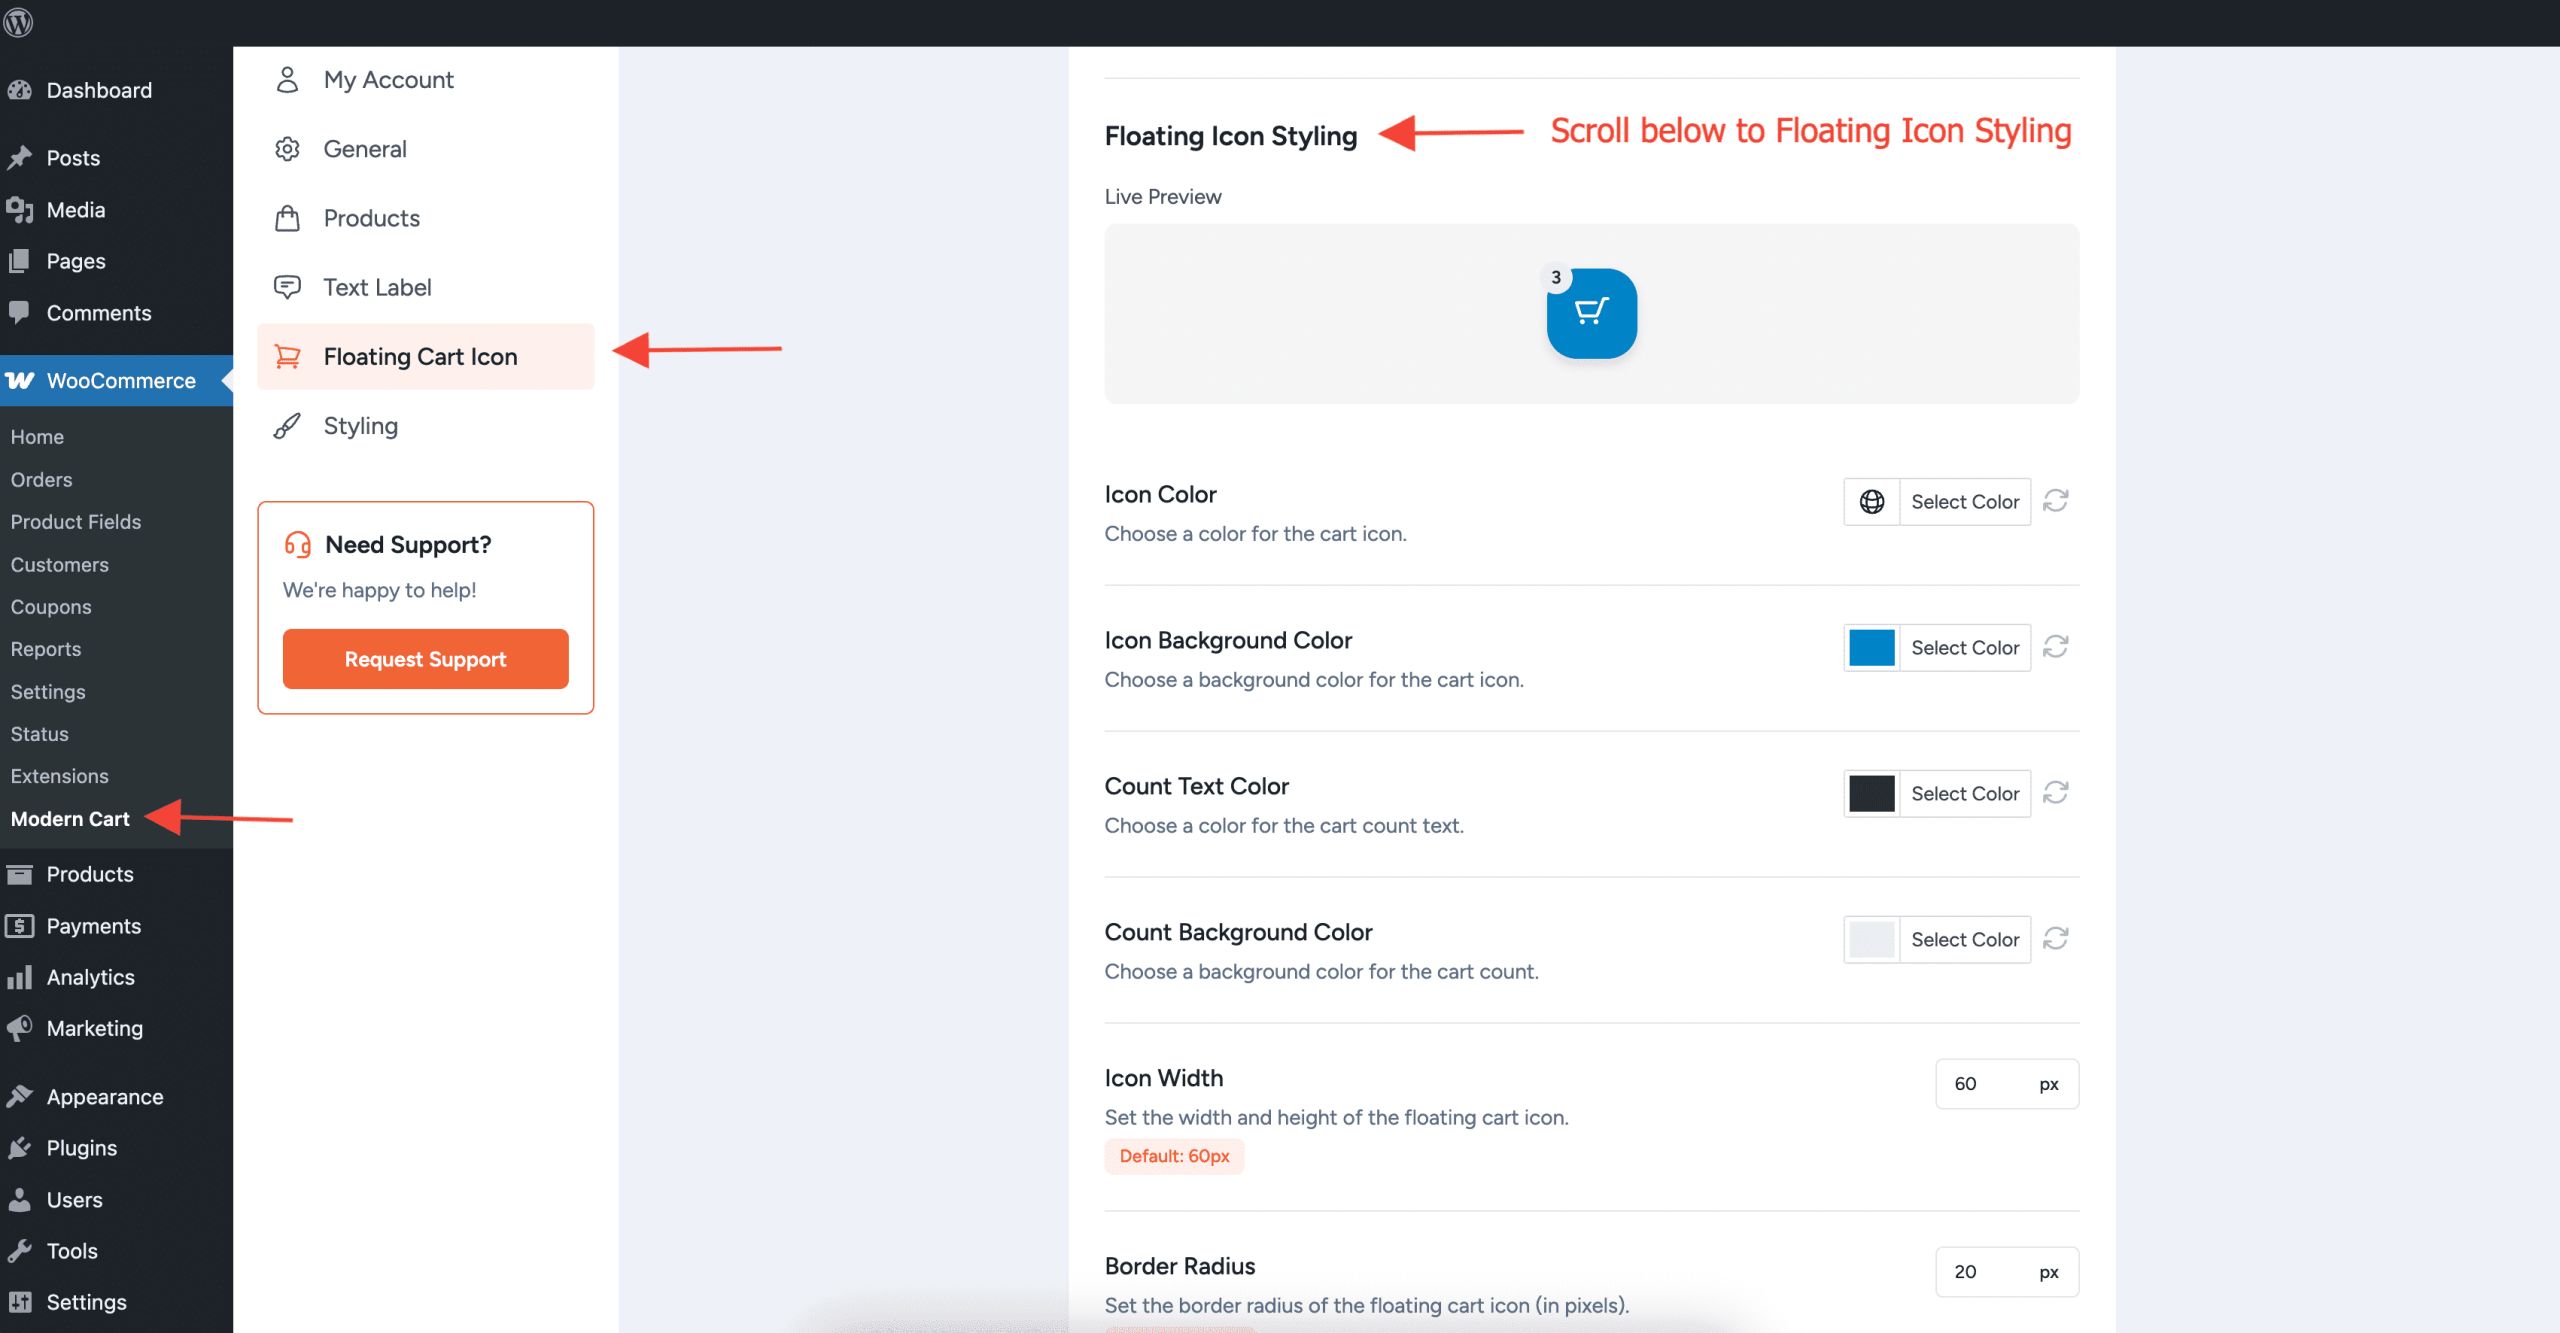
Live Preview: Instantly displays a preview of how your floating cart button will look.

Customization options for Floating Icon
- Icon Color: Choose the color of the cart icon. For example, you can match it to your brand’s color for a consistent look.
- Icon Background Color: Set the background color behind the cart icon to match your style or branding.
- Count Text Color: Select the color for the number displayed in the cart’s count badge.
- Count Background Color: Choose the background color for the cart count badge.
- Icon Width: Adjusts the overall size of the cart icon, including both its width and height.
- Border Radius: Adjusts how rounded the button’s corners are. Lower values make the button look more square, while higher values give it a more rounded shape.
Once configured, the floating icon will automatically reflect your design changes across your store.
We don't respond to the article feedback, we use it to improve our support content.
